


How to Fix MongoDB Atlas Connection Timeout Error in Node.js
If you are developing a Node.js application backend with Mongoose and suddenly hit a connection wall, you are not alone. One of the most common issues full-stack developers face when using managed cloud databases like MongoDB Atlas is the infamous MKDvoVT7E8tdF4vmk78us6XYnsxz3iik5U.
This error usually pops up unexpectedly, often with a message stating that the application could not connect to any servers in your MongoDB Atlas cluster.
In this step-by-step guide, we will break down exactly why this connection timeout happens and show you how to fix it in under two minutes by updating your network access rules.
Understanding the Root Cause: IP Whitelisting
MongoDB Atlas is built with security as a top priority. By default, it blocks all incoming traffic to your database cluster unless the requesting machine’s IP address is explicitly authorized.
If your internet service provider (ISP) assigns you a Dynamic IP address (which changes every time your router restarts or reconnects), your backend environment will suddenly lose access to the database. When you run your application terminal via nodemon or node, it attempts to handshake with Atlas, fails to clear the firewall, and throws a connection timeout error.
The Typical Error Log
When running an npm run dev script, your server script might initialize locally on your port, but the terminal will quickly print a failure sequence like this:
MongoDB Connection Failed: MKDvoVT7E8tdF4vmk78us6XYnsxz3iik5U: Could not connect to any servers in your MongoDB Atlas cluster. One common reason is that you’re trying to access the database from an IP that isn’t whitelisted.
How to Fix the Error (Step-by-Step)
Here is the exact workflow to unblock your network access and safely connect your Node.js application back to your database cluster.
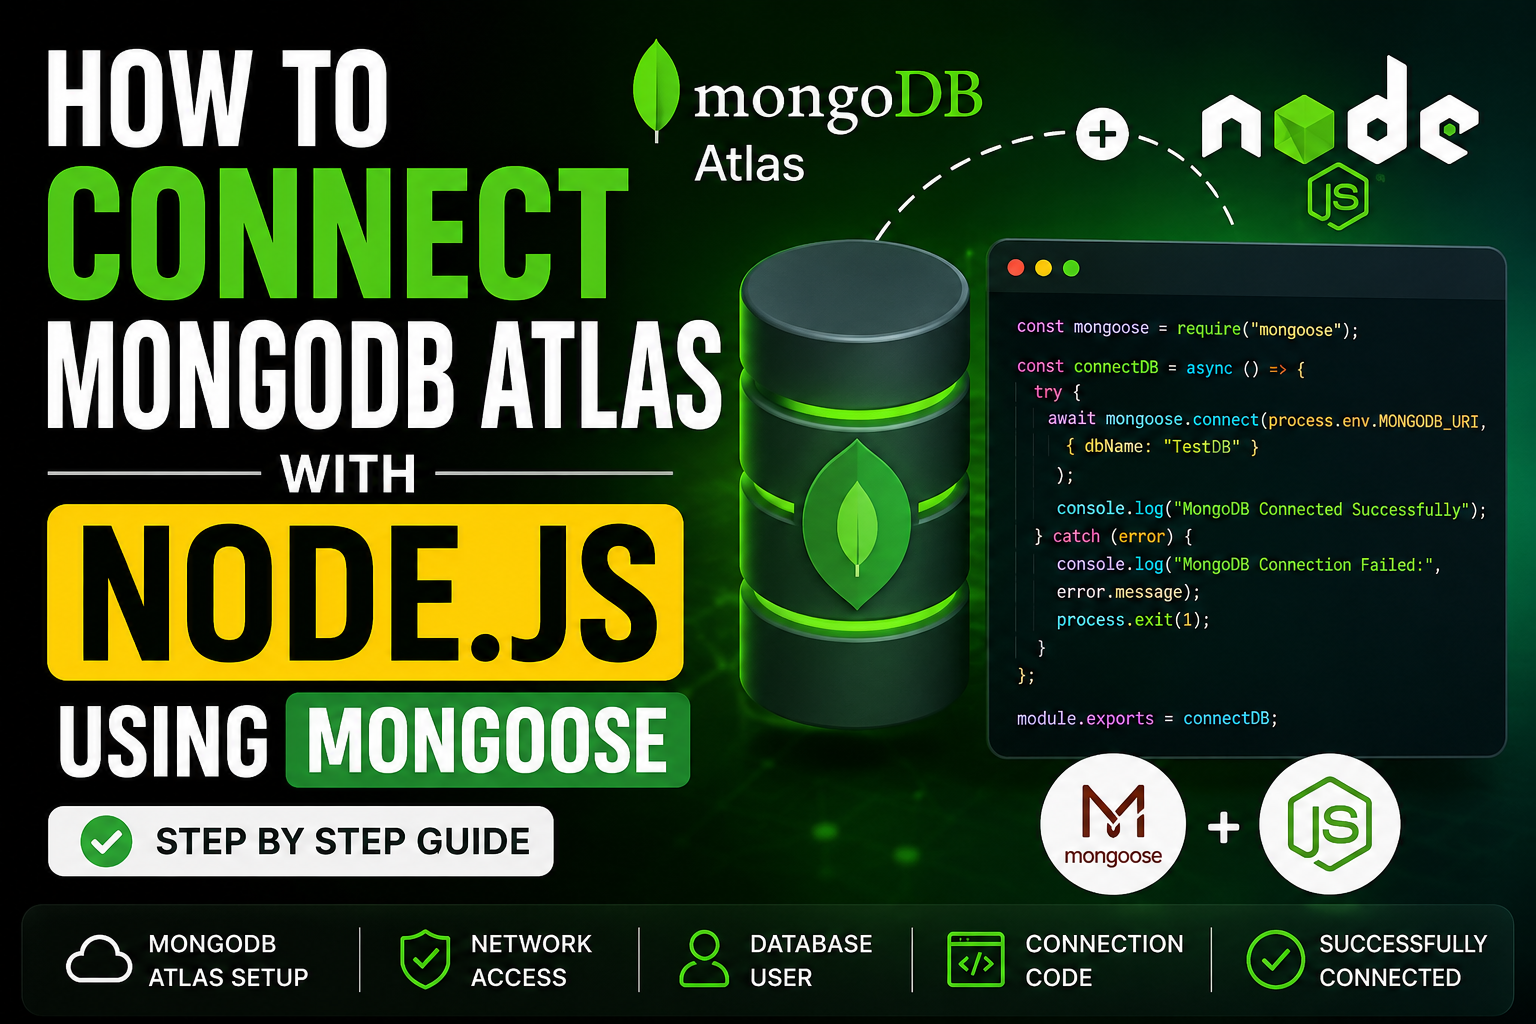
Step 1: Review Your Connection Code
Ensure that your database connection file (commonly located in config/db.js) is structured with a proper try/catch block to safely catch connection rejections without crashing your continuous integration flow.
const mongoose = require("mongoose");

const connectDB = async () => {
    try {
        await mongoose.connect(process.env.MONGO_URI, {
            dbName: "Your_Database_Name"
        });
        console.log("MongoDB Connected Successfully");
    } catch (error) {
        console.log("MongoDB Connection Failed", error.message);
        process.exit(1);
    }
};

module.exports = connectDB;
Step 2: Log In to Your MongoDB Atlas Dashboard
Open your browser and navigate to the official MongoDB Atlas cloud control panel.
Sign in securely using your registered Google, GitHub, or email authentication credentials.
From the project dropdown menu on the top left, select the specific project dashboard that holds your active cluster.
Step 3: Authorize Your Current IP Address
Once inside your project environment, you will likely see a prominent system warning banner at the top of the interface stating: “Current IP Address not added. You will not be able to connect to databases from this address.”

Hello http://vorawire.com,
We can place your website on Google 1st page.
I can give you our Complete SEO Action Plan along with a customary reach and add great value to your product/ service.
I may send you a SEO Packages & price list. If interested.
Best Regards,
Asif
Online SEO Consultant
Hi Asif,
Thank you for reaching out and analyzing our website. Currently, we handle all of our SEO, content strategy, and digital marketing internally and are not looking to onboard external consultants or packages at this time.
We will keep your contact information on file and will reach out if our requirements change in the future.
Best regards,
VoraWire Team”
Hello http://vorawire.com,
I wanted to reach out to see if you’re open to exploring ways to grow your website traffic and boost online performance.
We offer customized SEO services that deliver measurable improvements.
Once you share your target keywords and target market, I’ll send a full proposal.
Best Regards,
Aman